Create a diagram
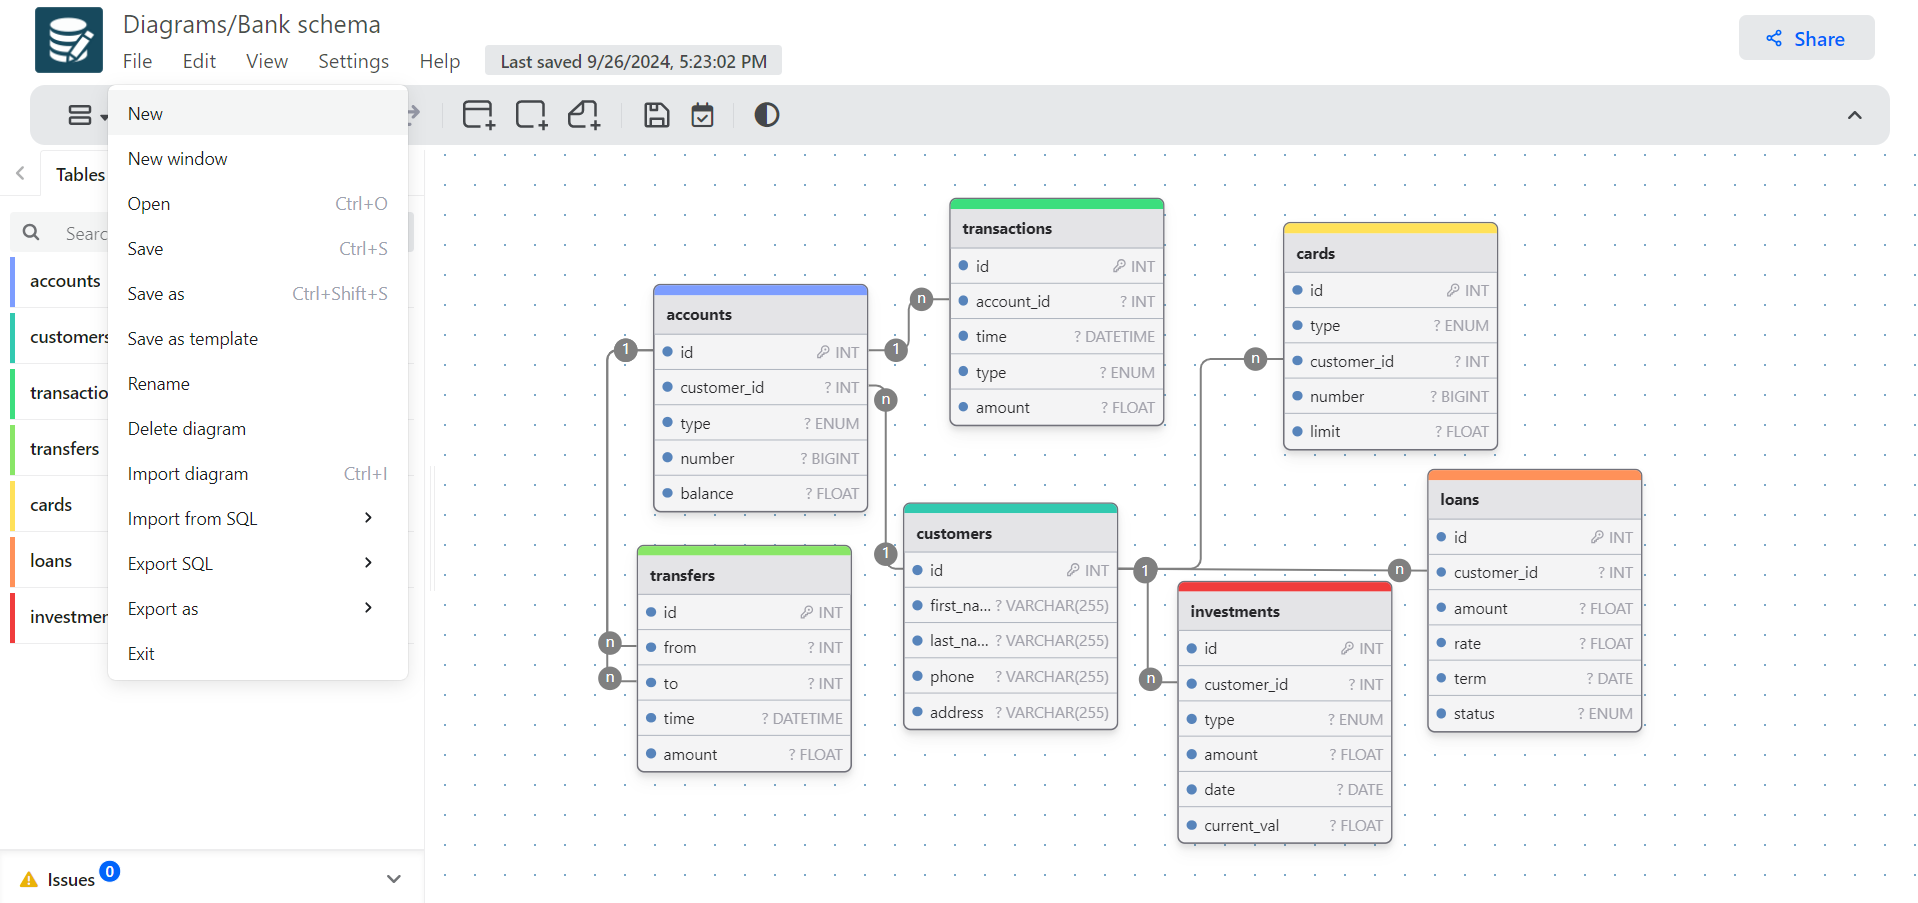
To begin, go to the online editor. If a previous digram gets loaded you can go to File > New and pick the blank diagram option.
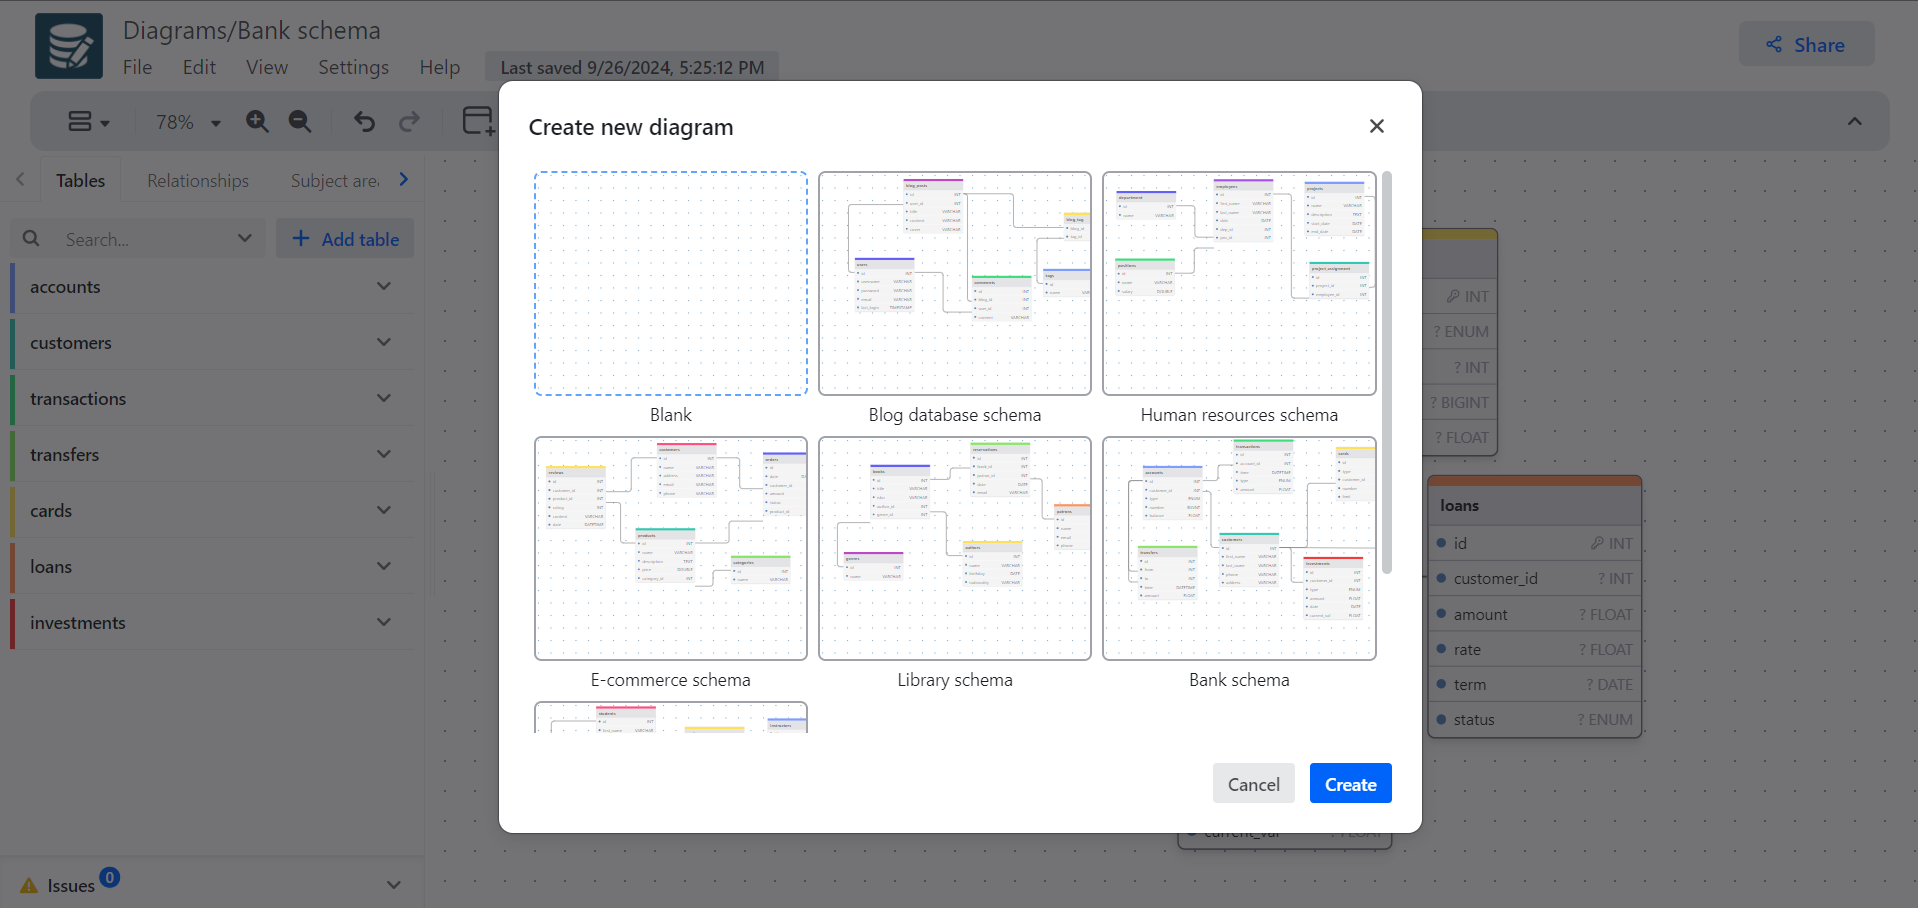
Pick a database
You can create database-specific or generic diagrams.
- Generic diagrams can be imported from or exported to any of the supported SQL flavors, however, they support a fewer number of types.
- Database-specific diagrams support all data types for the selected database and other database-specific features.
The following databases are supported:
- MySQL
- PostgreSQL
- SQLite
- MariaDB
- MSSQL
- Oracle
You can import an existing SQL script to reverse engineer a diagram or start from scratch by picking the blank diagram option.
Additionally, it can be exported to any of the supported RDBMS.

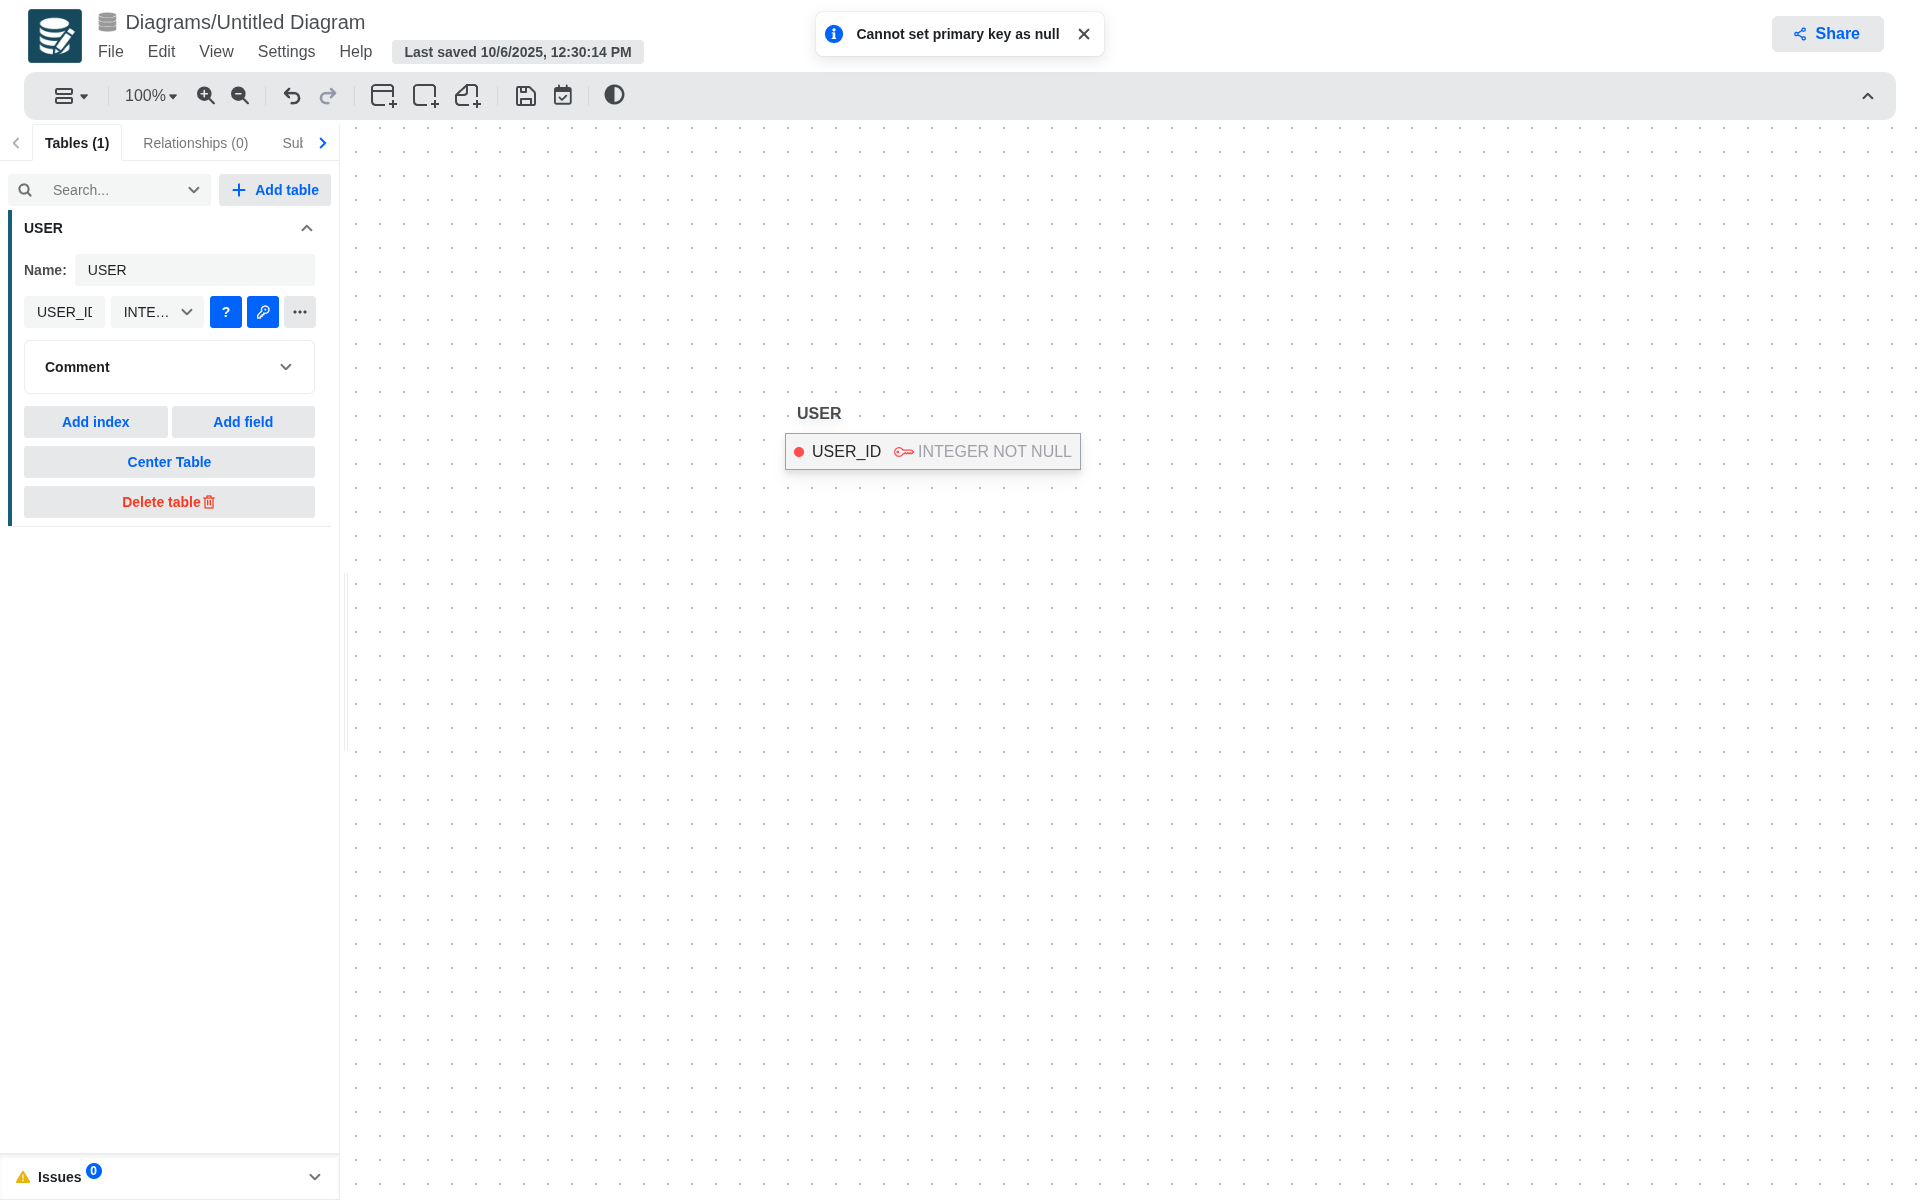
Tables
Add tables either from the sidebar or the toolbar and define columns.
You can create attributes sequentially by pressing enter in the last field.
Table Fields
You can define the following fields for a column:
- Name
- Datatype
- Not null
- Primary
- Unique
- Autoincrement
- Default
- Check constraint
- Comment
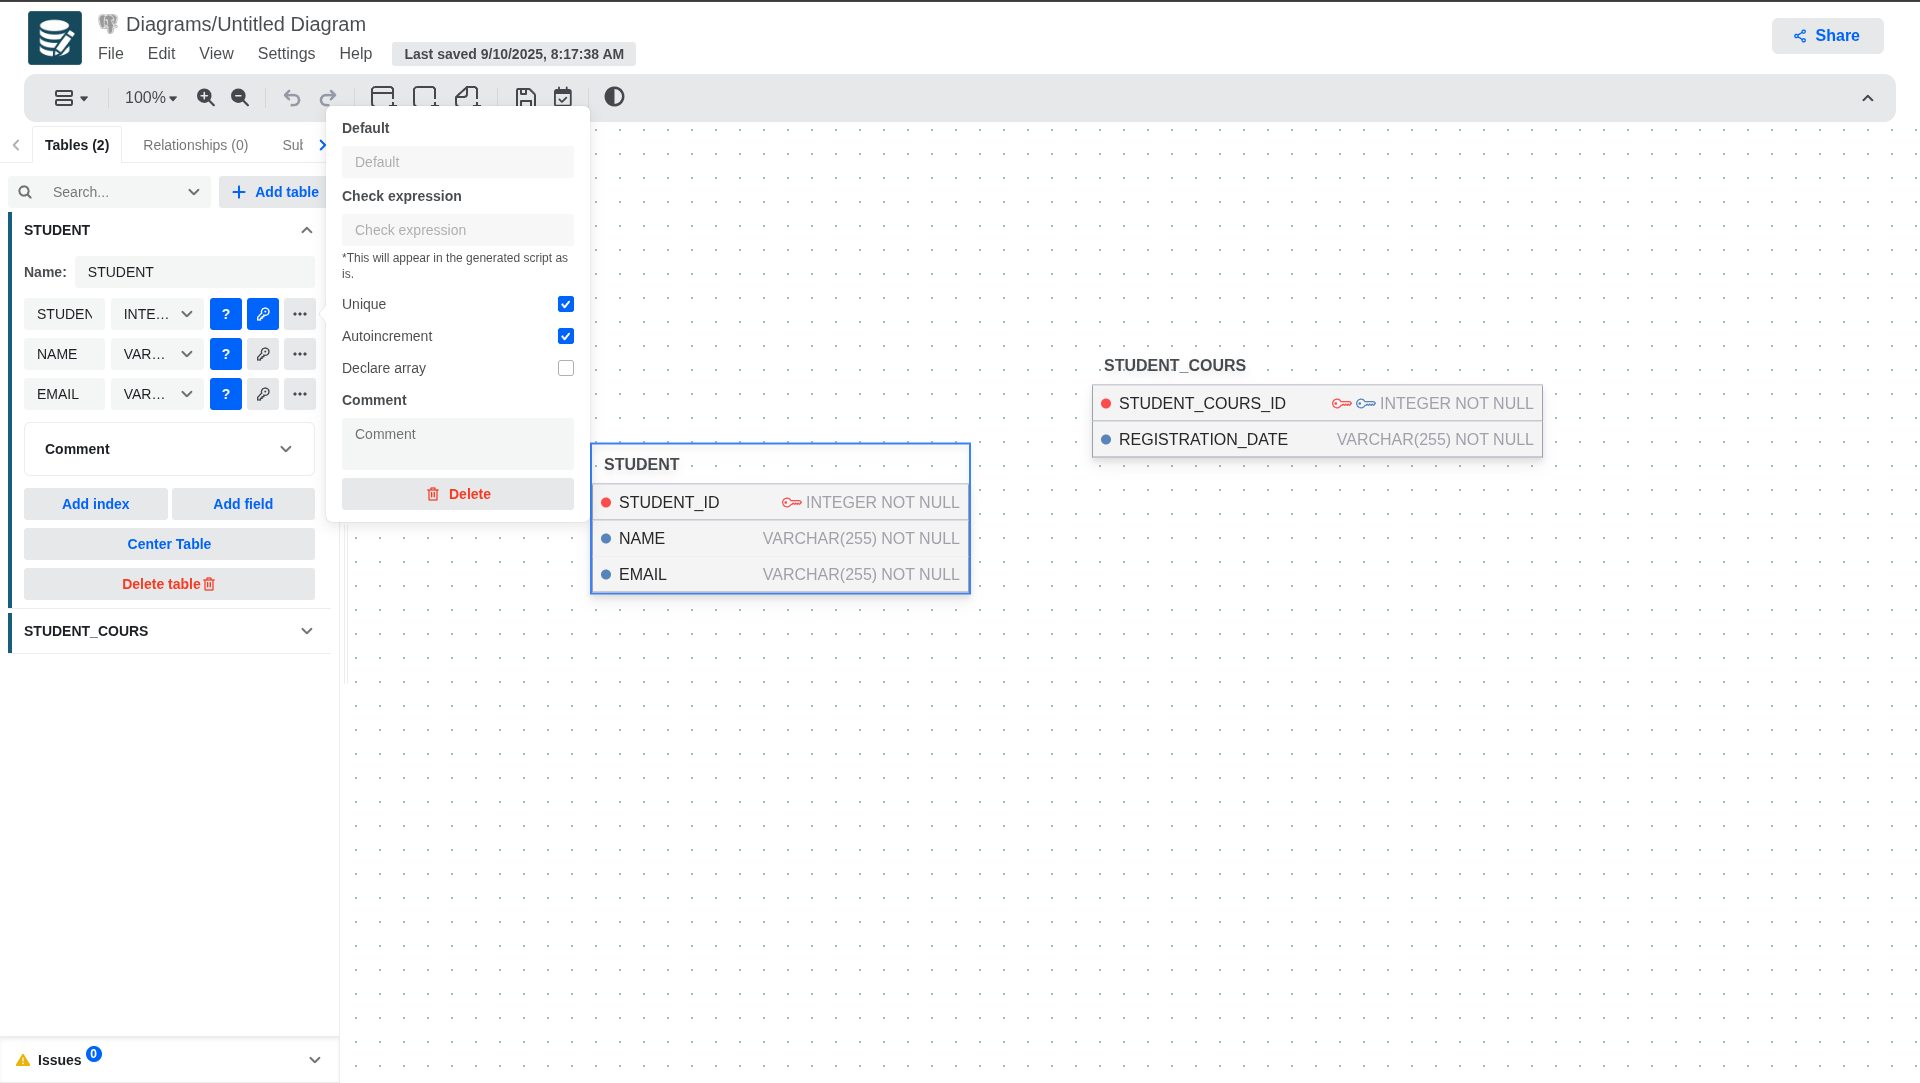
Although only Name, Datatype, Not null and Primary are visible from the settings panel, the other fields can be defined in the column edit panel that will open when clicking on the three dots icon.
If multiple primary keys are defined a composite primary key will be generated in the SQL output.
The check constraint will be injected into the SQL output as is.
To define an attribute as primary key, select the checkbox with a key icon. If you want the attribute to be nullable or not nullable, select the checkbox with a question mark icon.
More Functions on Tables
- A primary key cannot be nullable.
- Only generating a foreign key from a primary key or from a unique and not null attribute is allowed.

-
To increase the width of the table, place the cursor on the right edge of the table and then click and drag to adjust the width.
-
Also when typing the name of an attribute, if it is too long and takes up more space than previously defined, the width of the table will automatically adjust to fit the new size of the attribute.
- In case you want to quickly find a table in a very large diagram, you can use the search bar located at the top of the tables tab in the left sidebar and then click on the table you want to find. This will open the table's configuration panel where there is a button to center the table in the viewport.
Indexes
You can define the following fields for an index:
- Fields
- Unique
- Name
Relationships
To create a relationship and define foreign keys, long-press the blue dot on the primary key and drag it to the table you want to establish the relationship with. This will automatically generate the foreign key in the secondary table, which will contain the primary key information.

The gif shows one of three possible notations selectable in the modeler; for each notation, the rendering and some actions may change.
To delete the relationship, simply double-click on the relationship and select the delete button or delete the auto-generated foreign key from the table.
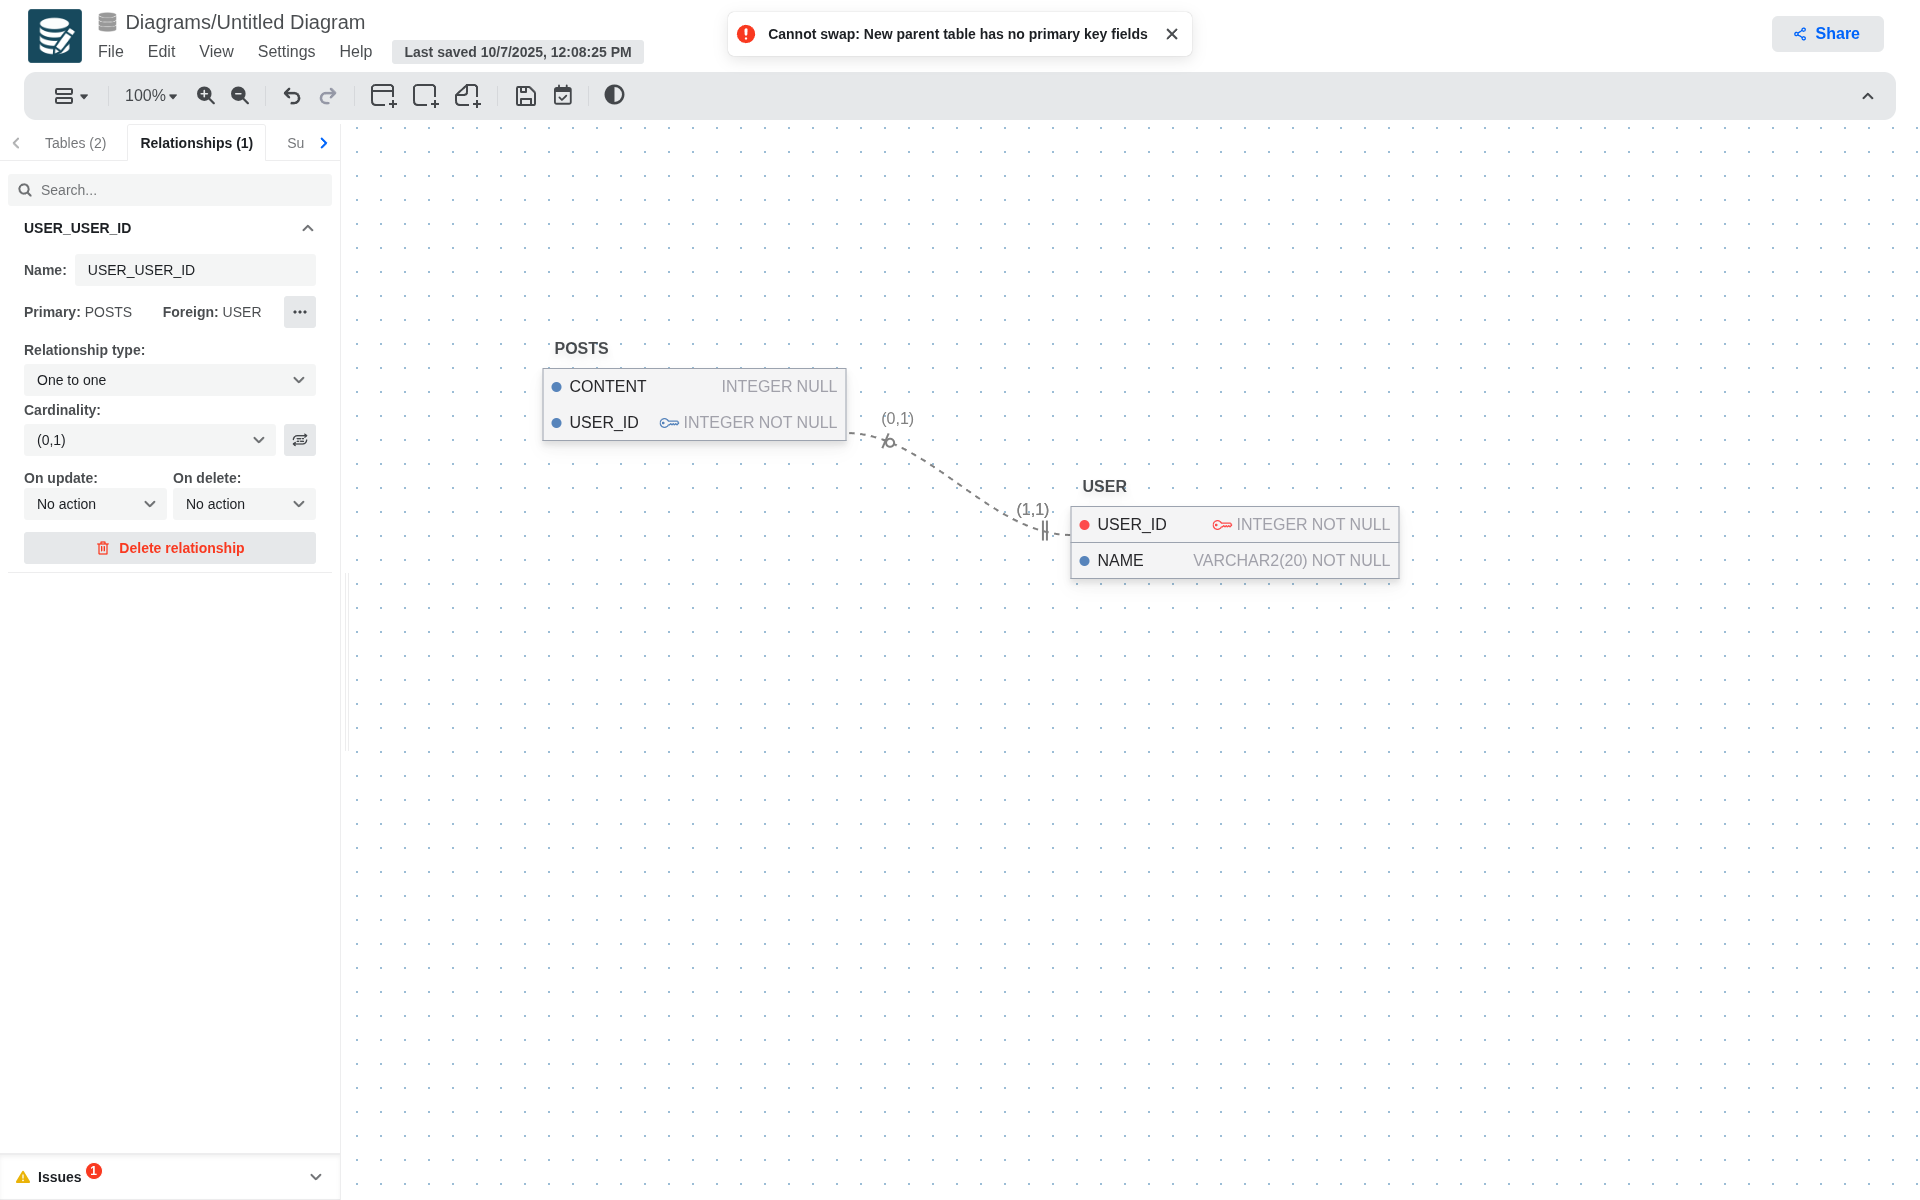
If at some point you realize that the keys are flipped you can swap them from the Relationships tab. Open the relationship you'd like to edit, click on the more button (three dots) next to the primary and forign columns, and then swap.!
If the child table does not contain a primary key, the exchange cannot be performed.
You can define the following fields for a relationship:
- Name
- Relationship type
- One to One
- One to Many
- Subtype
- Cardinality
- Only available for One to one
- (0,1)
- (1,1)
- Only available for One to Many
- (0,*)
- (1,*)
- Only available for One to one
- Subtype restriction (Only available for Subtype relations)
- Disjoint Total
- Disjoint Partial
- Overlaping Total
- Overlaping Partial
- On Delete Action
- On Update Action
- No action
- Restrict
- Cascade
- Set null
- Set default
Extra Options for Relationships
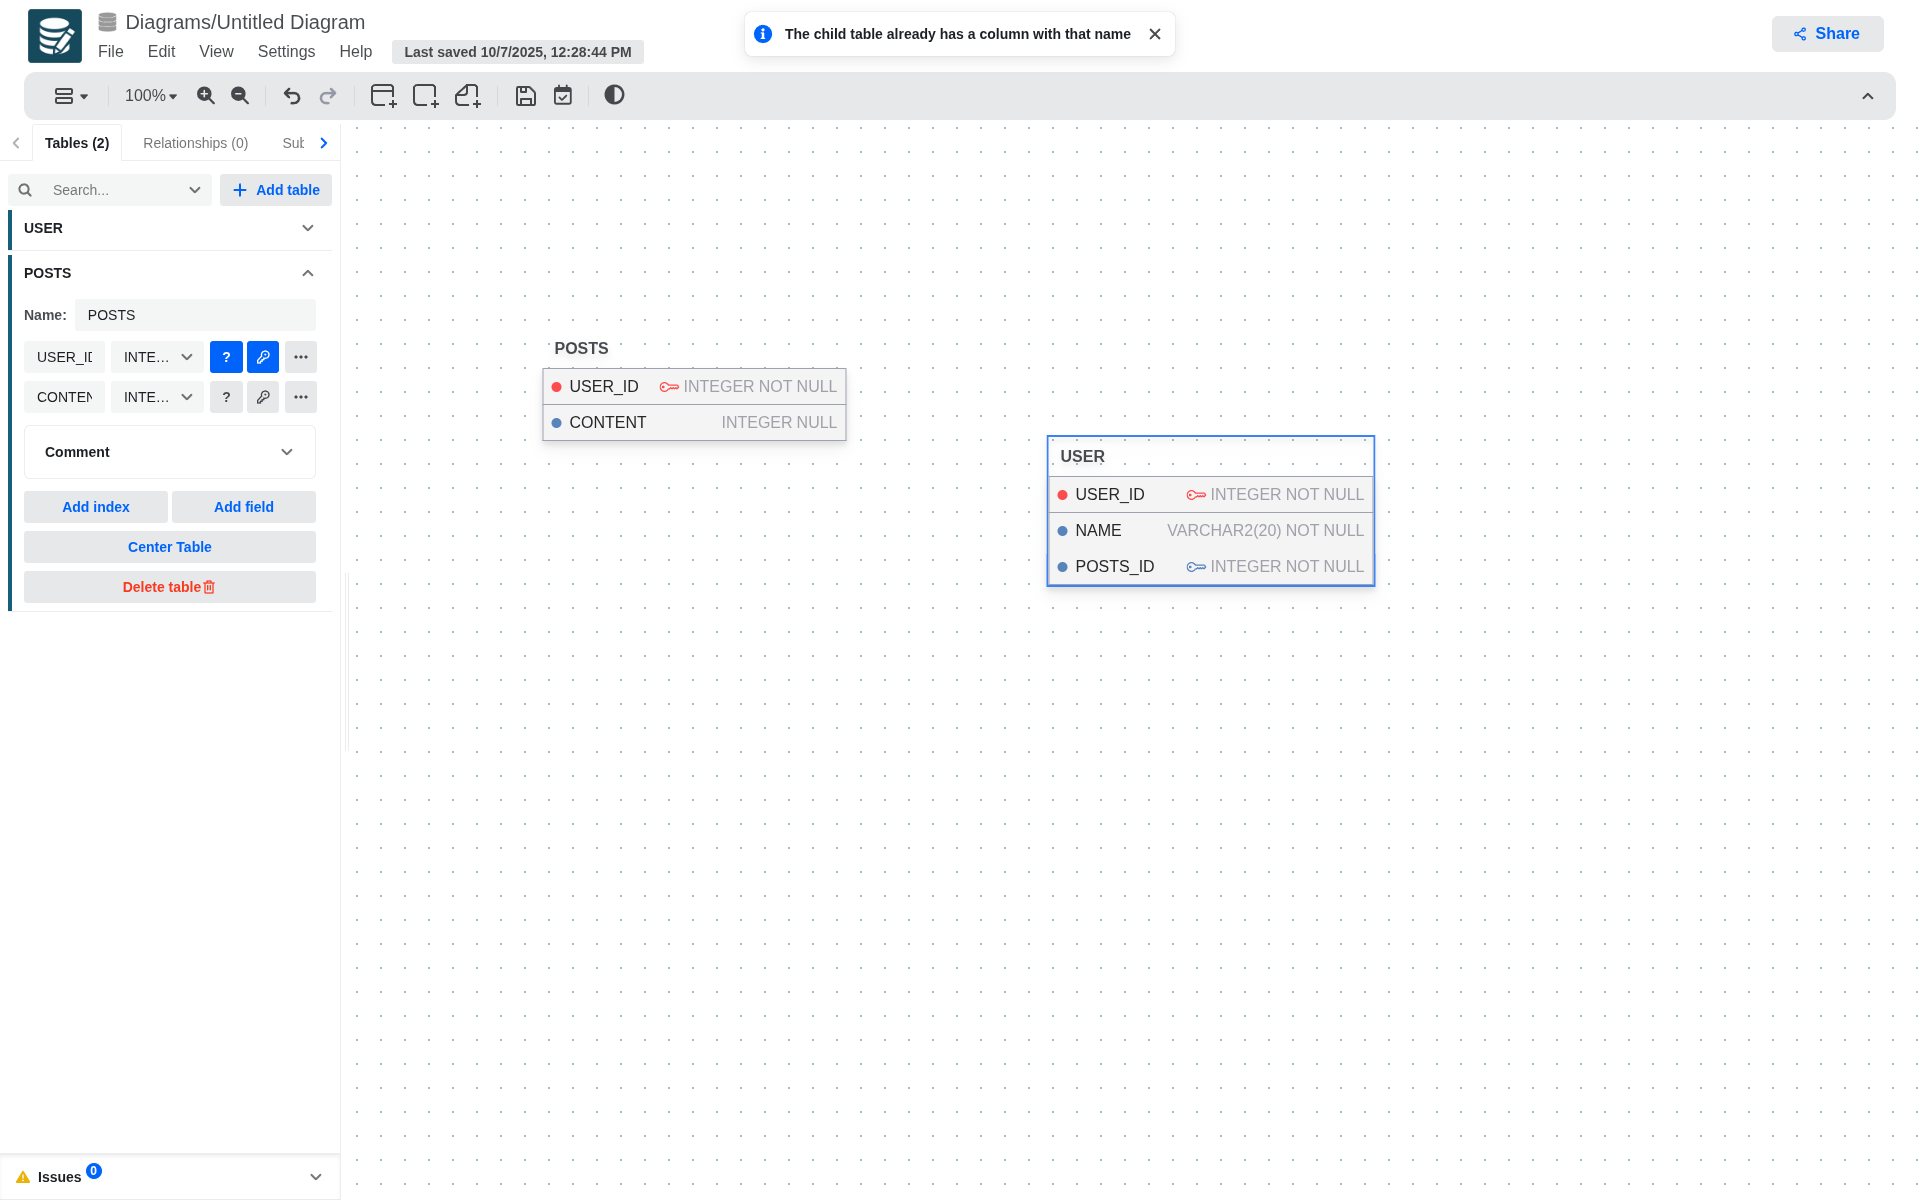
- To create a relationship the child table must not contain an attribute with the same name as the parent table's primary key.
-
To define a relationship with a composite primary key, simply drag any of the parent table's primary keys to the child table. This will generate all the necessary foreign keys in the child table.
-
To delete this type of relationship, simply delete any of the foreign keys generated in the child table, delete the relationship directly, or delete any of the primary keys involved.
- To switch between identifying and non-identifying relationships, simply open the child table's configuration panel and modify the foreign key attribute. If the foreign key is also part of the primary key, the relationship will be identifying; otherwise, it will be non-identifying.
- To define optional or mandatory participation in a relationship, simply edit the child table and modify the foreign key attribute. If the foreign key is nullable, the participation will be optional; otherwise, it will be mandatory.
Supertypes and Subtypes Entities
To create a relationship that uses this concept, you must first create a regular relationship, then go to its configuration panel and select the subtype in the relationship types section.
When you select it, the relationship's notation will change, and a blue dot will appear next to it, allowing you to add more subtypes to your hierarchy model.
To delete any of the subtypes involved in the relationship, simply delete the foreign key that was generated in the child table or access the relationship's configuration panel and delete the desired subtype.
If you wish to delete the entire subtype relationship, simply select the delete relationship button.
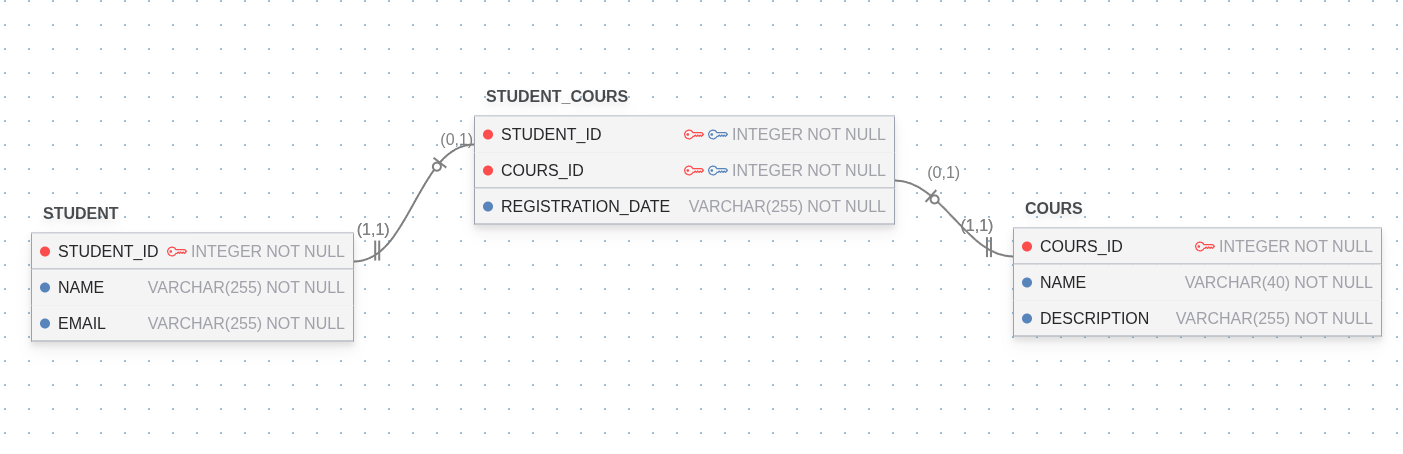
In order to model Many to Many relationships you will need to use a join table.
A join table is a third table that contains foreign keys to the 2 tables you'd like to connect. Additionally, you can add any other relationship-specific columns to the table. For example:
Subject areas
You add subject areas from the Subject Areas tab in the sidebar or from the toolbar. They logically group the tables in subject areas to make it easier to navigate the diagram; they server a pure visual purpose and do not translate to any SQL logic and are not reflected in the generated scripts.
Notes
You add notes from the Notes tab in the sidebar or from the toolbar. You can use notes to capture any additional comments in the diagram.
Custom Types
If the diagram type supports custom types there will be an additional Types tab in the sidebar. In generic diagrams the following conversions will take place when exporing to SQL.
| Database | Behavior |
|---|---|
| MySQL/MariaDB | A JSON with the corresponding JSON validation check |
| PostgreSQL | A composite type |
| SQLite | BLOB |
| MSSQL | A type alias to the first field |
Upon adding a new type, it will be added to the list of types you can choose from when editing a column.
Enums (PostgreSQL)
If the diagram is for PostgreSQL there will be an additional Enums tab in the sidebar where you can define enum values. Upon adding a new enum, it will be added to the list of types you can choose from when editing a column.